This site uses data saved in the cookie files and other technologies. If you agree to use cookie files click 'Allow Cookies'. Otherwise, click 'Cookie Settings' to allow or prohibit some cookie categories.
10% off all wallpaper, limited time only. No code required! close
-
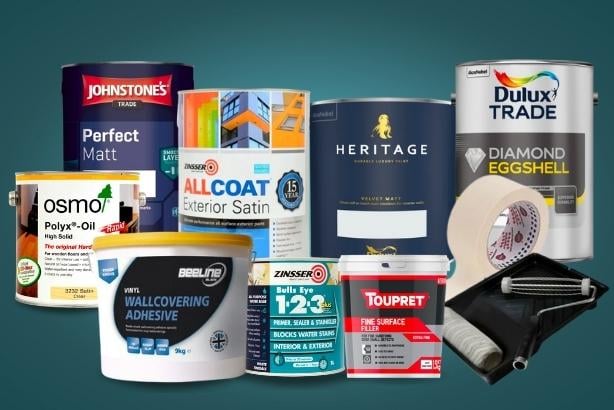
Colour Match Paint
-
Colour match paint without compromise!
-
-
Wood Finishes
-
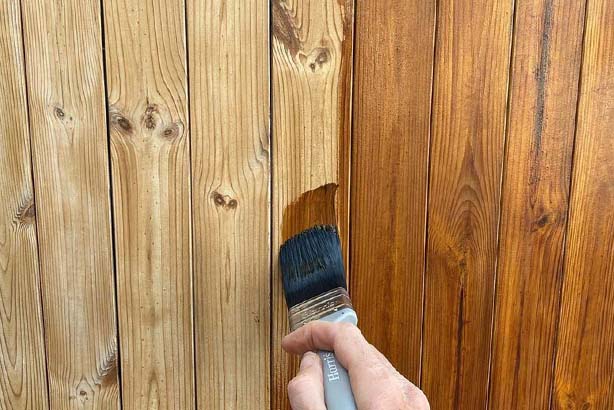
Shop Our Full Osmo Range
-
-
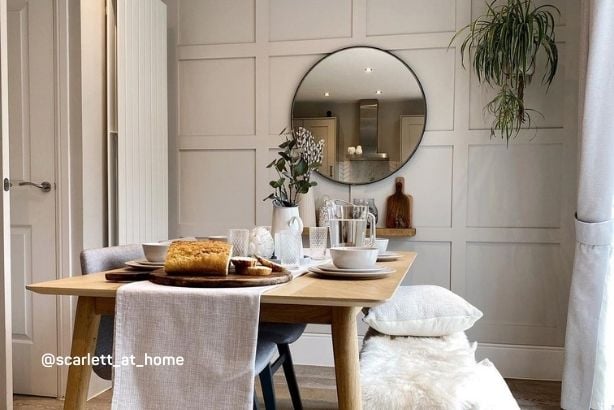
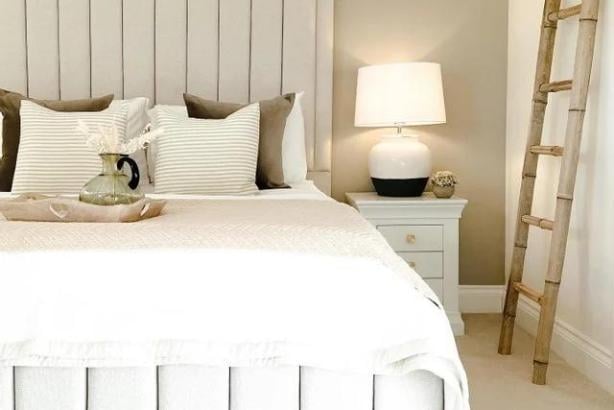
Home Styling
-
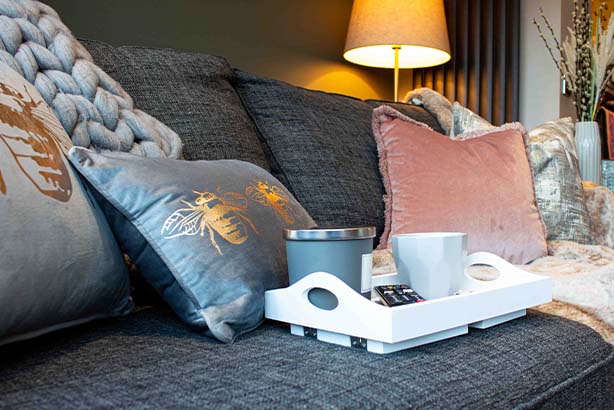
Curated Cushion Collection
-
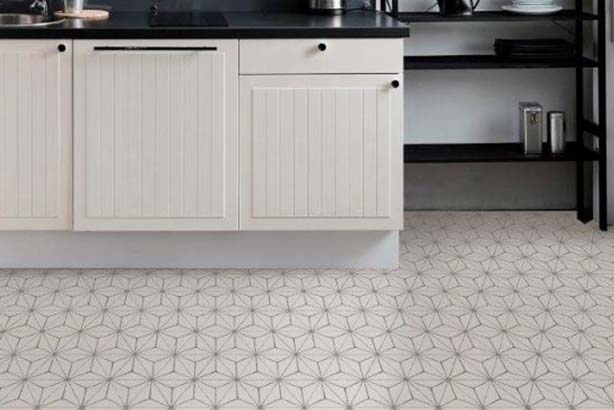
Peel & Stick Vinyl Floor Tiles
-
-
Latest Offers
-


NEW You can now find handy options like Currency and VAT settings here.
Site setup
Save and Close
Site Settings
Use the options below to customise your experience on the site.
Include VAT in Prices
Currency
Your account
Sign in to your account
New to decorating centre?
If you are new to Decorating Centre, simply click register and we'll ask you for a few details.
Sign up for DCO PRO.
For businesses, sign up to our trade account.
 Price Match Promise
-
 2pm Next Day Delivery
 -

-
 4.9 / 5 Feefo Rating
Coving Renaissance - Guest Blog | @stephfrom_belmont
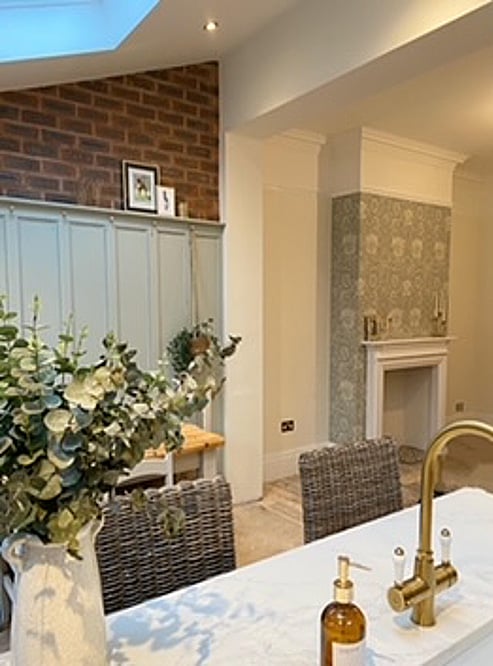
Why Coving
Hands up if during lockdown you have analysed your home with a beady eye wondering what to change to make things a bit different?
Unsurprisingly, I’ve read that the predicted trends to watch for this year are all about creating a comforting and nurturing home seeing as we’re spending more time in it. And it seems like there is a renaissance in coving and ceiling roses at the moment as a bit of an evolution of a modern style using some classic features to add depth to a room.
On this note, we were tempted to update our home rather than change it and all of its period features entirely, so underwent an extension to the rear of our property adding more space to our kitchen and transforming the former dining room into a snug.
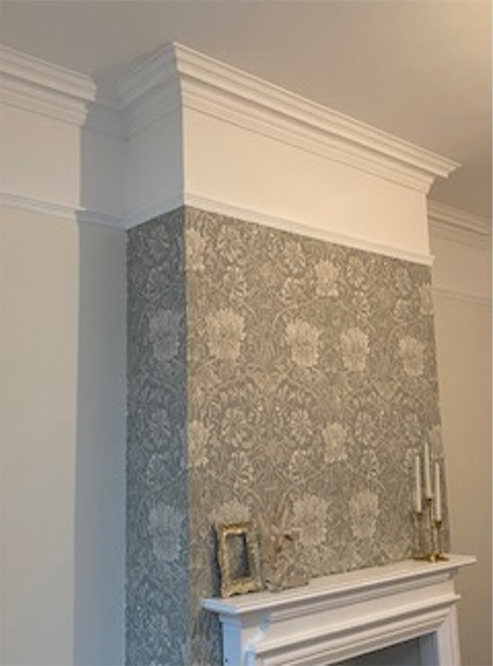
In keeping with the history and features of the property whilst adding a modern twist, layering texture and maximising natural light, we wanted to encorporate coving to suit its heritage. We opted for the Georgina coving as we believed that its style was an important detail in the interior and it needed to be in balance with the overall character of the room.
Our Process
Starting with the straight pieces to get a feel for how easy it would be to fit, we used the Décor Grip adhesive that was recommended with this coving, adding a couple of support nails underneath to hold it in place whilst the adhesive set.
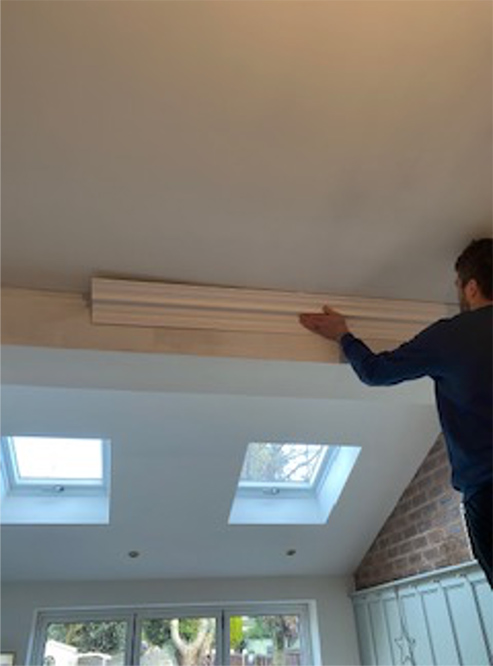
To add the corner pieces, we made sure we measured along the edge that was to be placed against the wall and marked with a pencil before carefully cutting with a hacksaw.
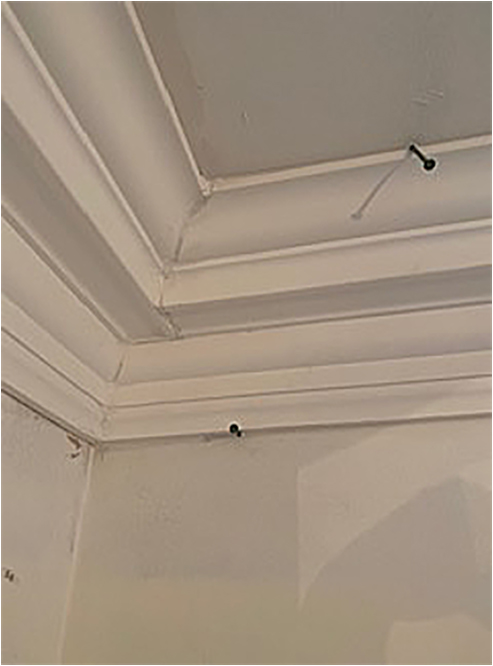
We used caulk to fill any edges that didn’t line up 100% perfectly. And once it is painted you won’t see it!
We found that the joy of this type of coving is that it’s lightweight so if it doesn’t go on perfectly first time you can just pull it back off and reattach.

What You Will Need
- Coving
- Hacksaw
- Mitre Block
- File / Sand Paper
- Caulk
- Decor Grip Adhesive
- Nails
- Microfibre Cloth